Pointing the way
- Leeza A. Harris

- Apr 5, 2019
- 2 min read
Exploring and experiencing the amazing world of Neo Impressionism
Pointillism (/ˈpɔɪntɪlɪzəm/) is a technique of painting in which small, distinct dots of color are applied in patterns to form an image.
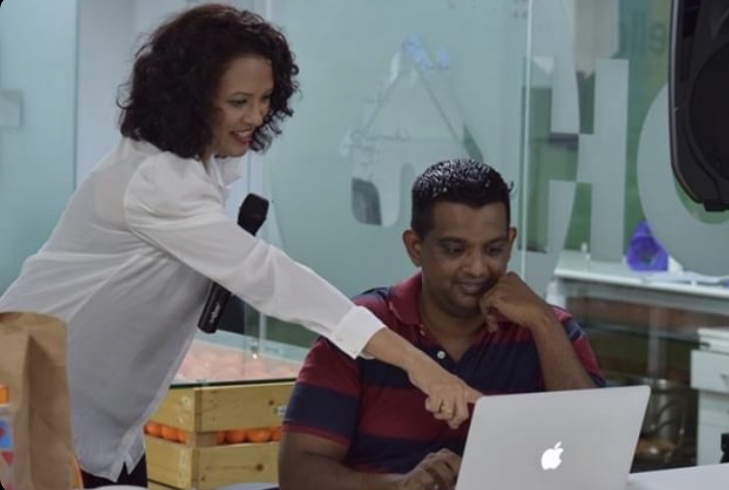
The Chrysalis Studio recently conducted a workshop on Pointillism for OrangeScape Technologies. Little over 120 employees came together for a session where they explored this form of art by actually trying their hand at it. The teaser we put together to pique their interest is given below!

Before diving head first into the process we presented a brief overview of art history pertaining to Pointillism.
Art History & Key Artists
Georges Seurat and Paul Signac developed the technique in 1886, branching from Impressionism. The term "Pointillism" was coined by art critics in the late 1880s to ridicule the works of these artists, and is now used without its earlier mocking connotation. The movement Seurat began with this technique is known as Neo-impressionism. The Divisionists, too, used a similar technique of patterns to form images, though with larger cube-like brushstrokes.
The Technique
The technique relies on the ability of the eye and mind of the viewer to blend the color spots into a fuller range of tones.
Works of Art


Poster Paint Basics
Basic instructions about the use of the poster paints was shared with the participants.
Easy to use
Dries fast
Can blend Colours
If the paint dries you can add a few drops of water to it
Art Materials used for the Workshop
The participants were divided ino groups of 10 and each participant was given items 1 - 4 while items 5-9 were shared
A4 Paper - For practise
White Chart Paper Square - Final Artwork
Small Paper Plate - For paints and for mixing
Pencil - To sketch the image
Red Poster Paint
Green Poster Paint
Erasers
Sharpeners
Water
The Process
A coordinated effort was applied to take all the 120+ participants through the process of painting their picture using the pointillism technique.
Make sure that you use the wooden spatula to put a few drops of each color of paint into your paper plates. The colors should not mix.
Practice drawing an apple with a leaf on your sheet of A4 paper
Now draw the apple with a leaf on your white chart paper square
Dip your finger into the red paint, remove excess paint along the edge of your plate and then start filling in the apple with dots. ONLY DOTS.
Begin from one side and move across your drawing. TOP to BOTTOM or LEFT to RIGHT.
Use another finger to dip into the green paint and fill in the leaf with green dots.
Blending the colors or diluting one color to use for a background for the apple
Patience is key. You could restless since the process is time consuming.
The pictures of the workshop speak for themselves. We had so much fun doing this workshop and look forward to next one.
Give it a shot since its a fascinating way to paint.
Cheers!


Comments